- Published 19 Nov 2024
- Last Modified 19 Nov 2024
- 5 min
Safety & Emergency Lighting Guide

This guide provides essential information on safety and emergency lighting systems in Malaysia, detailing their types, functions, installation, regulations, and testing procedures. It emphasises the importance of these systems in ensuring safe evacuation during emergencies and outlines best practices for maintaining compliance with local safety standards.
What Is Safety and Emergency Lighting?
Safety and emergency lighting provide illumination in the event of power outages or emergencies. This type of lighting includes standby lighting, which serves as a backup when the main supply fails, and emergency escape lighting, designed to guide occupants safely out of a building.
Emergency lighting is essential for directing people toward exits and away from danger. It is designed to be highly visible, often marked with emergency light symbols, and strategically placed throughout buildings to facilitate safe evacuation. In Malaysia, these lights are often powered by rechargeable batteries or connected to an emergency circuit, ensuring functionality even when the main power is disrupted.
Maintained vs. Non-Maintained Emergency Lighting
The difference between maintained and non-maintained emergency lighting is straightforward, as explained below:
Maintained Emergency Lighting
Maintained emergency lighting remains operational under normal circumstances, functioning as standard lighting while providing backup during power failures. This type is commonly found in high-traffic areas like shopping malls and cinemas, where constant visibility is crucial.
Non-Maintained Emergency Lighting
In contrast, non-maintained emergency lighting activates only during a power failure. These fixtures are wired into the standard lighting system but are designed to illuminate escape routes automatically when the main supply is interrupted. Non-maintained emergency lighting is frequently used in offices and industrial settings.
How Does Emergency Lighting Work?
Emergency lights are typically connected to the main electrical supply for continuous charging. Upon detecting a power failure, these lights switch on automatically, illuminating escape routes. Most emergency lights are equipped with batteries that can sustain operation for a minimum of three hours during an outage, although this duration may vary depending on the specific fixture.
Importance of Emergency Lights
The presence of emergency lights is not just a safety measure; it is often mandated by law in commercial and industrial buildings in Malaysia. They play a vital role in protecting individuals during emergencies by illuminating critical areas and guiding occupants toward exits. Strategically placed emergency lights can significantly reduce panic and confusion during an evacuation.
How to Wire Emergency Lights
Before you begin any work, you must ensure that the breaker the emergency lighting is connected to is tripped to make sure the circuit is safe and prevent the risk of electrical shock or injury. Additionally, guidance for installing any given emergency light may be available from the manufacturer. Make sure to familiarise yourself with any instructions or guidelines before starting work.
The basic process of how to wire emergency lights is as follows:
- Deactivate the circuit breaker connected to the emergency light.
- Verify the voltage requirements for the light fixture.
- Inspect the connections on the unit.
- Connect the common wire and appropriate voltage wire to the electrical conduit.
- Attach the ground wire securely.
- Restore power and allow sufficient time for battery charging.
- Test the unit to confirm functionality.
Incorrect emergency light installation can be hazardous and could result in damage to the unit, transformer, or circuit board. As a result, the task should only be completed by fully trained professionals.
Another point to consider is the mounting of the fixture. As a general rule, the unit will typically be fully or partially mounted before the emergency lighting wiring is connected. Various fitting types are available for emergency lights, so make sure to choose the most effective type for your particular model.
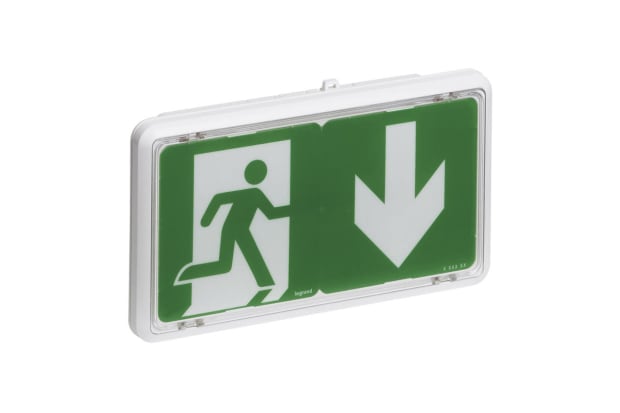
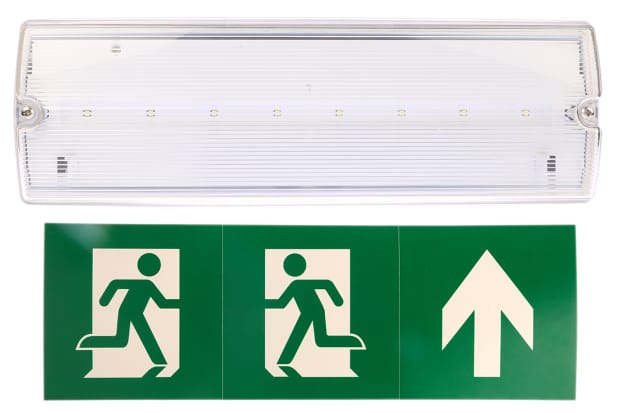
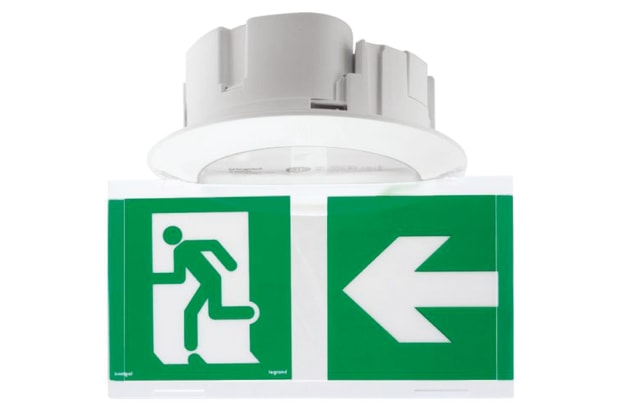
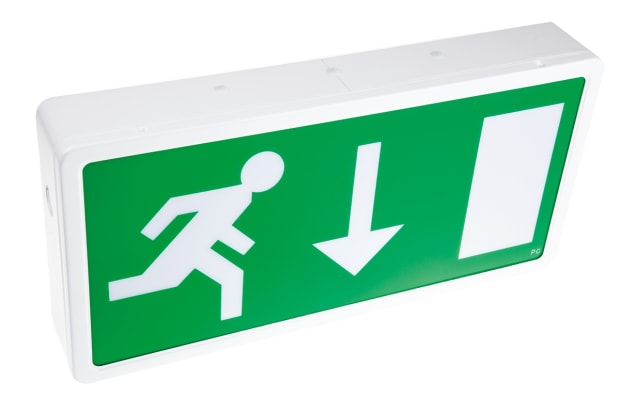
Common Types of Emergency Light Fixtures
Regulatory Compliance for Emergency Lighting
In Malaysia, regulations governing emergency lighting are established by local authorities and fire safety standards (e.g., MS 619). These regulations ensure that emergency lighting systems are effective and compliant with safety protocols.
Legal Requirements for Testing Emergency Lights
Regular testing of emergency lighting systems is required to maintain compliance with safety regulations. The relevant standards provide guidelines on how often tests should be conducted and what they should entail. The standard promotes understanding of emergency lighting and its importance and provides recommendations for performance, installation, and upkeep.
Emergency Light Testing
Regularly testing emergency lights is important as it ensures the fixtures are working as expected. Emergencies or loss of supply can be sudden and unexpected, so your emergency lights must be functioning correctly and always available in case they are needed.
How to Test Emergency Lights
Some safety and emergency lights, such as luminaires, can complete self-testing. However, the majority of emergency lights must be manually tested. Tests can be carried out by the ‘responsible person’ or a qualified electrician and all checks should be documented.
One important consideration to bear in mind is that your system will be vulnerable after a full annual check has been completed. The backup battery will take time to recharge post-testing, so be sure to assess the risk before carrying out testing. As a result of this, completing testing at low-risk times (such as out of standard working hours, where possible) is usually preferred.
Monthly Testing Procedures and Annual Testing Requirements
Standard monthly checks should be carried out by following the steps below:
- Switch off the mains power to the emergency light fixture.
- Some units may have a separate switch installed which allows for emergency lights to be tested without the need to turn off all power.
- Visually inspect all emergency lights to ensure they are functioning as expected.
- Document any issues and ensure these are investigated further.
- Record the full results of the test.
In addition to these monthly checks, an annual check should also be completed. This should involve:
- Switch off the mains power to the emergency light fixture.
- Ensure all the emergency lights are lit up, as per the monthly checks.
- Leave the power switched off for the full duration of the light’s rated period (typically three hours, but this can vary between units so make sure you are aware of the rated period beforehand).
- If any lights fail before the rated period is up, the back-up battery may need replacement.
- Record all results of the test.
Additional Considerations for Emergency Lighting in Malaysia
Importance of Emergency Exit Signs
Emergency exit signs are crucial components of any building’s safety plan in Malaysia. They must be clearly visible at all times and comply with local regulations set forth by BOMBA (the Malaysian Fire and Rescue Department). Properly illuminated exit signs guide occupants safely out of buildings during emergencies.
Fire Safety and Emergency Procedures
Implementing a comprehensive fire safety plan that includes regular training for staff on emergency procedures can enhance overall safety in buildings. Familiarity with escape routes and emergency equipment can save lives during an actual event.
Choosing Quality Emergency Lighting Products
When selecting emergency lighting solutions, consider reputable manufacturers known for their reliability and compliance with Malaysian standards. Investing in high-quality LED emergency lights can ensure long-term performance while minimising energy consumption.
Related Emergency Lighting Products
Related links
- Emergency Lighting
- RS PRO LED Emergency Lighting 3W, Non Maintained
- Schneider Electric LED Emergency Light Fitting, Wall
- RS PRO LED Emergency Lighting 2 x 7.5W, Non Maintained
- RS PRO LED Emergency Lighting 3W, Maintained
- RS PRO LED Emergency Lighting 2 x 3.5W, Non Maintained
- LED Emergency Light Fitting, Wall
- Schneider Electric LED Emergency Light Fitting 5.4 W Non Maintained


